
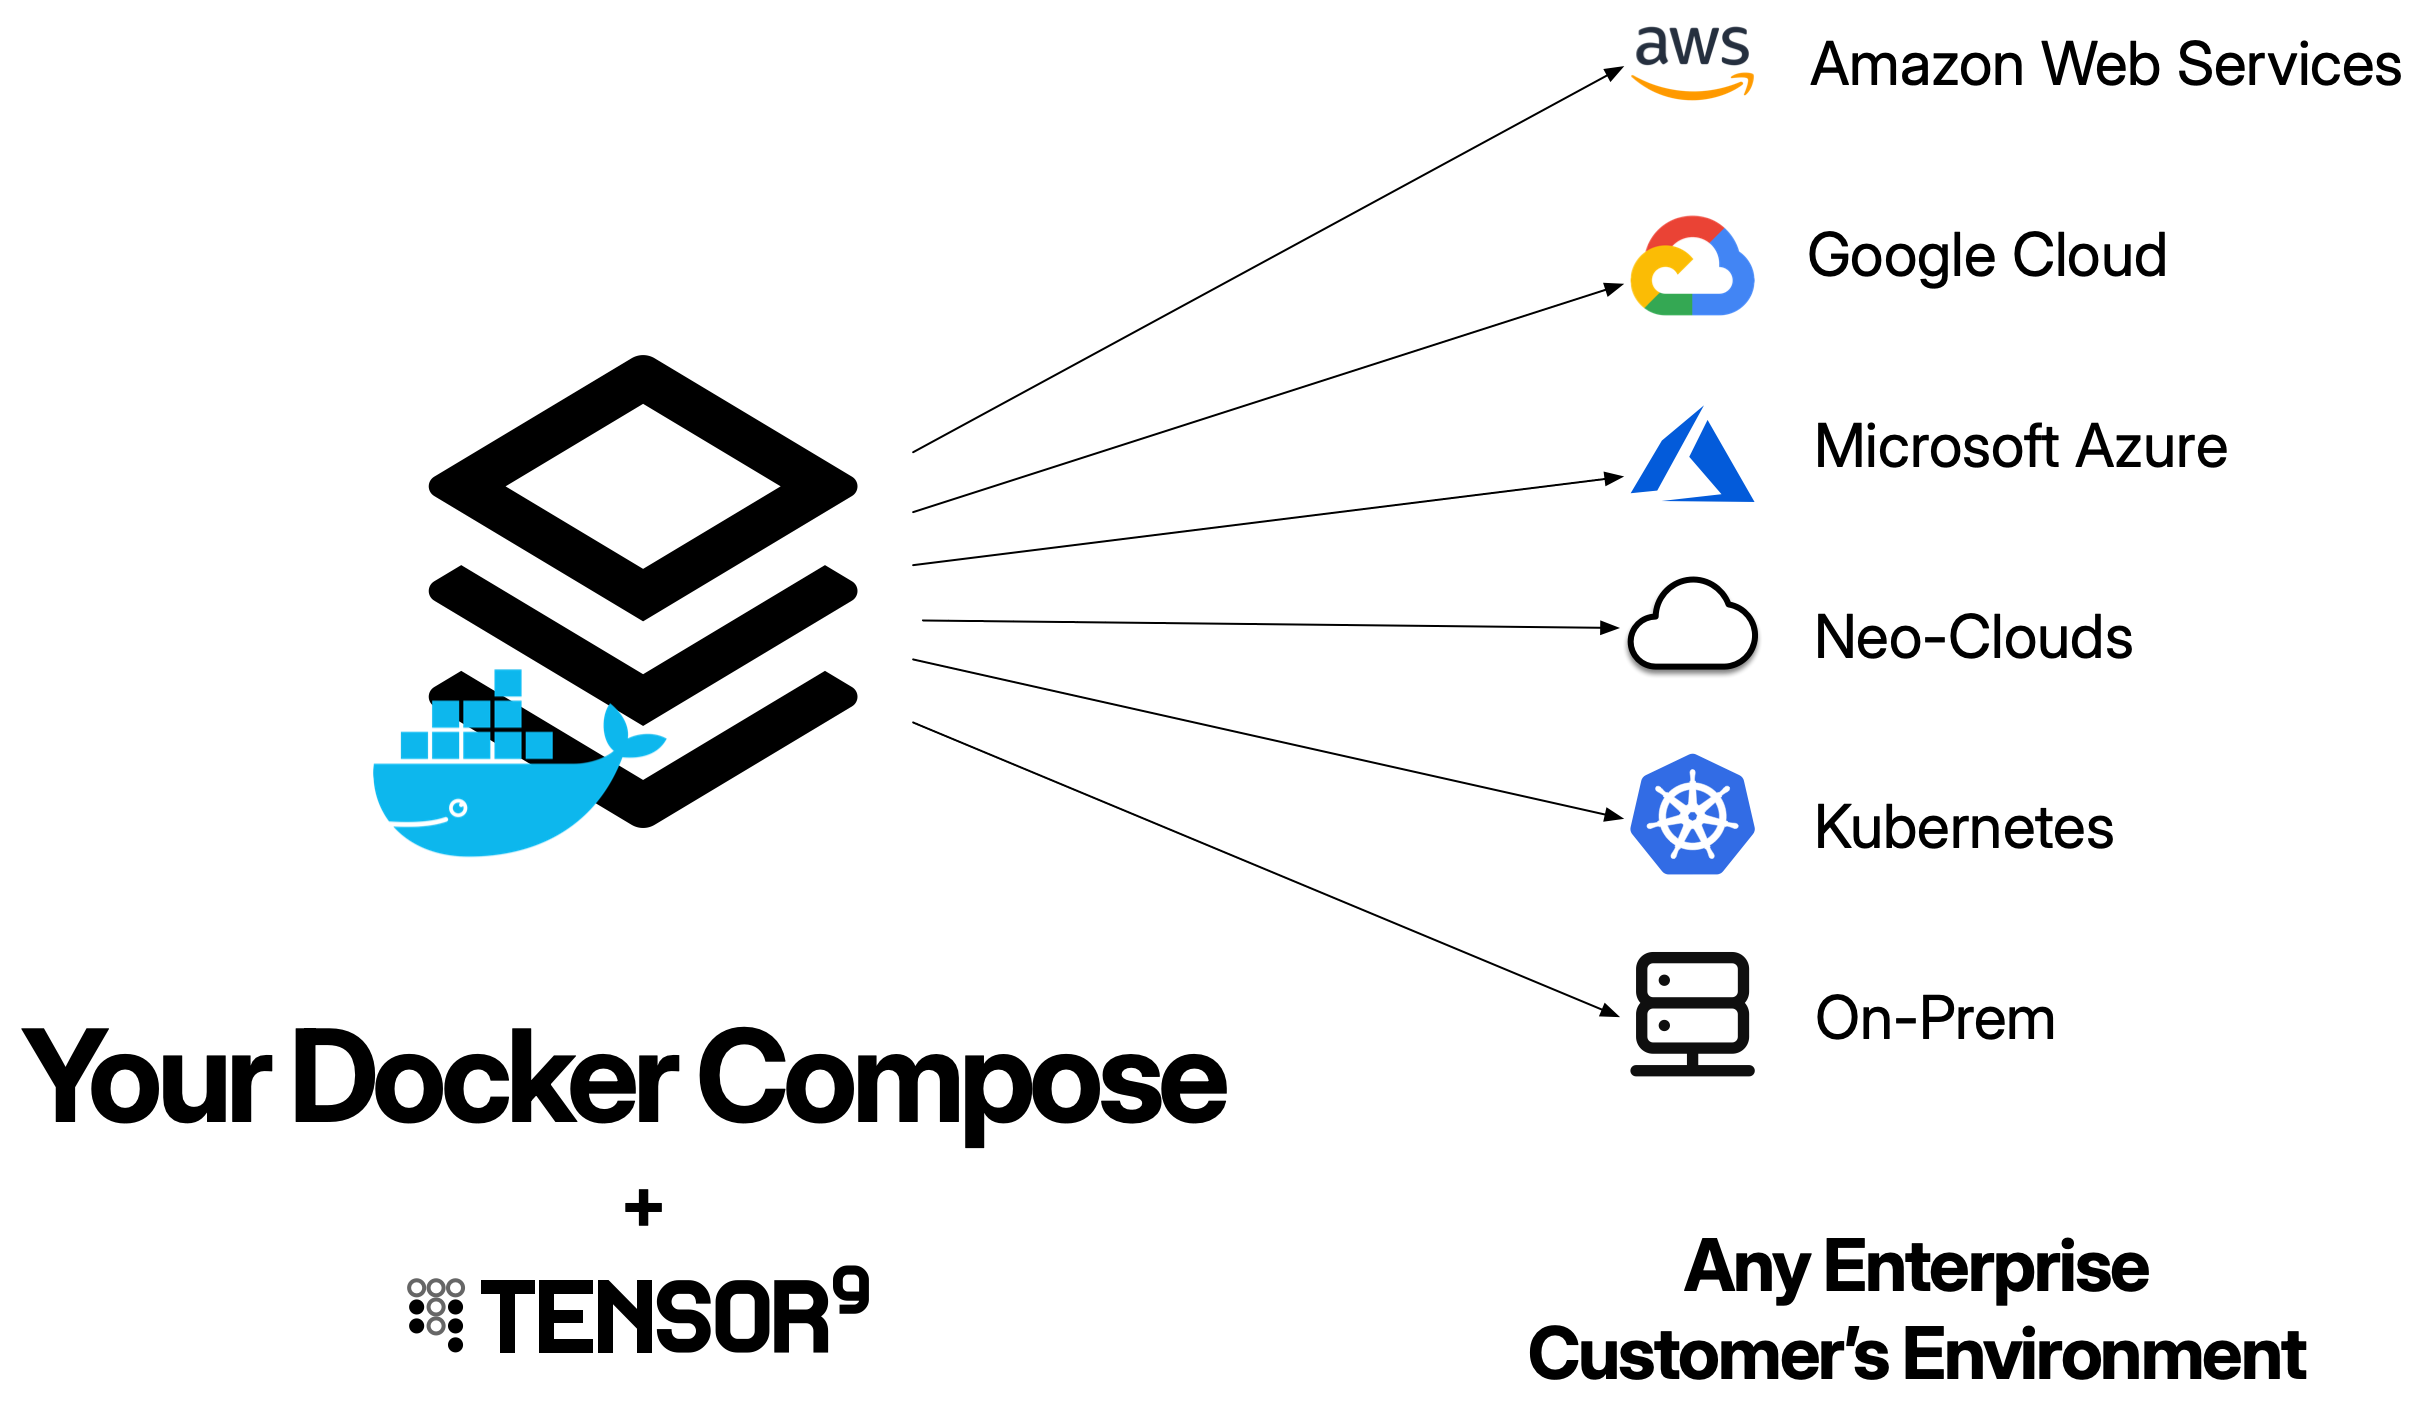
What is a Docker Compose origin stack?
A Docker Compose origin stack is your existing docker-compose.yml file. Tensor9 takes your compose configuration and automatically generates all the necessary infrastructure (Kubernetes deployments, services, networking, storage) to run your multi-container application in customer environments - whether that’s AWS, Google Cloud, Azure, DigitalOcean, or private Kubernetes clusters. Tensor9 reads your compose file and maps each service to Kubernetes resources. Services with exposed ports get external load balancers, while internal services use Kubernetes service discovery for inter-service communication.Your origin stack should be your existing Docker Compose configuration. Tensor9 is designed to work with the compose files you already have - you don’t need to rebuild your application just for Tensor9. The goal is to maintain a single compose file that works for both your local development and private customer deployments.
How Docker Compose origin stacks work
1
Publish your compose file
Your docker-compose.yml file is published to your control plane using
tensor9 stack publish. Container images referenced in your compose file must be available when creating a release (but not when publishing).2
Create a release
When you create a release using
tensor9 stack release create, your control plane compiles your Docker Compose configuration into a complete Terraform deployment stack that uses Kubernetes.The compilation generates Kubernetes resources for each service:For each service in the compose file:- Kubernetes Deployment: Runs your container with specified replicas and resource limits
- Container image: Copied to the appliance’s container registry
- Service with
ports:: Gets a LoadBalancer Service for external access - Service with
expose:only: Gets a ClusterIP Service for internal-only access - Named volumes: Mapped to PersistentVolumeClaims
- Health checks: Mapped to liveness and readiness probes
- Secrets: Mapped to Kubernetes Secrets
- Services with
depends_onare deployed in order using Terraform dependencies
- All services deployed in the same namespace
- Services can reach each other by service name (e.g.,
http://api:8080)
3
Deploy the deployment stack
Download the compiled deployment stack and deploy it using Terraform or OpenTofu:The Terraform deployment creates all the Kubernetes resources (deployments, services, persistent volumes, etc.) automatically and starts your containers.
4
Monitor deployment progress
Monitor the deployment using Terraform output and Kubernetes:
You maintain one docker-compose.yml file. Tensor9 compiles it into many deployment stacks (one per appliance), each customized for that appliance’s cloud environment. Each deployment stack is a Terraform configuration that creates Kubernetes resources appropriate for the target cloud provider.
Prerequisites
Before using Docker Compose as an origin stack, ensure you have:- Docker Compose file: A valid docker-compose.yml file (v2.x or v3.x)
- Container images in registries: All images referenced in your compose file must be pushed to container registries (the deployment stack will copy them to the appliance’s registry)
- Tensor9 CLI installed: For creating releases
- Tensor9 API key configured: Set as
T9_API_KEYenvironment variable
Docker Compose origin stack format
A Docker Compose origin stack is your docker-compose.yml file. Here’s an example:Publishing workflow: You bind your app to a published compose file. Then, each time you want to release a new version, you update your compose file, republish it, and create a release. Tensor9 will read the updated compose file and generate a new deployment stack.
Supported compose features
Services:image:- Container image reference (copied to appliance registry)ports:- External ports (creates LoadBalancer Service)expose:- Internal-only ports (creates ClusterIP Service)environment:- Environment variables (preserved in deployments)depends_on:- Service dependencies (enforced via Terraform ordering)deploy.replicas:- Number of container replicasdeploy.resources:- CPU and memory limitshealthcheck:- Health check configuration (maps to K8s probes)secrets:- Secrets (map to Kubernetes Secrets)
- Named volumes - Map to PersistentVolumeClaims
- External secrets - Map to Kubernetes Secrets (must be pre-created in namespace)
Unsupported features (will create StackIssue)
The following Docker Compose features are not supported and will create a StackIssue during compilation:build:- Building images from Dockerfileextends:- Service inheritanceprofiles:- Conditional service activation- Bind mounts (e.g.,
./local-path:/container-path) - Use named volumes instead
StackIssues can be overridden using a stack tuning document if you need to bypass validation. However, unsupported features will not function even if the issue is overridden.
Publishing and deploying
Initial setup (one-time)
1
Publish your docker-compose.yml file
Publish your compose file to your control plane:This returns a native stack ID like
s3://t9-ctrl-000001/my-app-compose.yml2
Bind the compose file to your app
Bind your app to the published compose file:This only needs to be done once per app.
Releasing new versions
Each time you want to release a new version:1
Update and republish your compose file
2
Create a release
3
Deploy to your test appliance
Download and deploy the compiled deployment stack:
4
Access your application
Once deployed, you can access services with external ports through the load balancer endpoint:Internal services are accessible only from within the cluster using service names.
Tuning container resources
You can customize deployment-specific settings using a stack tuning document. This allows you to override compose file settings on a per-release basis without modifying your origin stack.Creating a stack tuning document
Create a JSON or YAML file that specifies service-specific overrides:Using the stack tuning document
Pass the stack tuning document when creating a release:When to use resource tuning
Resource tuning is useful when:- Different customer tiers: Allocate more resources for enterprise customers
- Performance optimization: Increase replicas and resources for high-load deployments
- Cost optimization: Reduce resources for development/testing environments
- Environment-specific configuration: Add environment variables for specific deployments
The stack tuning document overrides settings from your docker-compose.yml for that specific release. You can use different stack tuning documents for different appliances, allowing you to customize resources per customer without changing your origin stack.
Generated Kubernetes resources
When Tensor9 compiles your Docker Compose origin stack, it generates Kubernetes resources for each service:| Compose Feature | Kubernetes Resource |
|---|---|
services.{name} | Deployment with DNS-safe name (lowercase, no underscores) |
services.{name}.ports | LoadBalancer Service (external access) |
services.{name}.expose | ClusterIP Service (internal-only) |
services.{name}.deploy.replicas | Deployment replica count |
services.{name}.deploy.resources | Container resource limits and requests |
services.{name}.healthcheck | Liveness and readiness probes |
services.{name}.environment | Container environment variables |
services.{name}.secrets | References to Kubernetes Secrets |
services.{name}.depends_on | Terraform resource dependencies |
volumes.{name} | PersistentVolumeClaim |
secrets.{name} | Kubernetes Secret (must be pre-created) |
Managing secrets
Pass sensitive data to your containers as environment variables using secrets defined in the tuning document. This allows you to reference secrets from AWS Secrets Manager or SSM Parameter Store without embedding sensitive values in your compose file.Defining secrets in the tuning document
Create a tuning document that defines secrets alongside your compose file: docker-compose.yml:Publishing with secrets
When you publish and create a release, pass the tuning document:- Fetch the secrets from AWS Secrets Manager or SSM Parameter Store
- Inject them as environment variables into your containers
- Ensure secrets are parameterized using the
${instance_id}variable
Accessing secrets in your application
Your application reads secrets from environment variables:Pass secrets as environment variables rather than using runtime SDK calls. While
boto3.client('secretsmanager').get_secret_value() works natively in AWS appliances, using environment variables ensures your application works consistently across all deployment targets (AWS, Google Cloud, DigitalOcean).Alternative: Docker Compose secrets (not recommended)
Docker Composesecrets: map to Kubernetes Secrets, which must be pre-created in the appliance namespace:
- Kubernetes Secrets must be manually created in each appliance
- It doesn’t work consistently across all deployment targets
- The tuning document approach provides better secret management
Exposing ports
Docker Compose provides two ways to expose ports:ports: for external access and expose: for internal service-to-service communication. Tensor9 compiles these to appropriate Kubernetes Services.
External access with ports:
Use ports: to make a service accessible from outside the cluster:
ports: in Docker Compose, Tensor9 creates a Kubernetes LoadBalancer Service, which automatically provisions a cloud-native load balancer:
| Cloud Provider | Load Balancer Type | What Gets Created |
|---|---|---|
| AWS | Network Load Balancer (NLB) or Application Load Balancer (ALB) | Elastic Load Balancing resource with public DNS |
| Google Cloud | Cloud Load Balancing | Global/regional load balancer with public IP |
| DigitalOcean | DigitalOcean Load Balancer | Regional load balancer with public IP |
| Azure | Azure Load Balancer | Public load balancer with frontend IP |
- Docker Compose
ports:→ Kubernetes LoadBalancer Service - Kubernetes LoadBalancer Service → Cloud load balancer provisioning
- Cloud load balancer → Routes traffic to your pods
- Public endpoint exposed automatically
EXTERNAL-IP is your public endpoint that routes to your containers.
Alternative: Kubernetes Ingress
For HTTP/HTTPS services, you can optionally use Kubernetes Ingress instead of LoadBalancer Services. Ingress provides:
- Path-based routing (e.g.,
/api→ api service,/admin→ admin service) - TLS/SSL termination
- Single load balancer for multiple services (cost savings)
Internal-only access with expose:
Use expose: for services that should only be accessible from within the cluster:
- Creates a Kubernetes ClusterIP Service
- Only accessible within the Kubernetes cluster
- No external load balancer provisioned
- Other services can access via DNS name (e.g.,
http://api:8080)
Port mapping syntax
Docker Compose supports several port mapping formats:IP binding not supported: Port mappings with IP addresses (e.g.,
127.0.0.1:8080:8080) are not supported. Use simple port mappings like 8080:8080 instead.Protocol support
Currently, only TCP is supported for port mappings:Multiple ports
You can expose multiple ports from a single service:Best practices for ports
Use standard ports for common protocols:- External ports incur cloud load balancer costs
- Use
expose:for internal services to avoid unnecessary load balancers - Consider consolidating external endpoints through an API gateway
Service-to-service communication
Services can communicate with each other using service names as DNS hostnames:Best practices
Use versioned image tags
Use versioned image tags
Use health checks for all services
Use health checks for all services
Define health checks in your compose file for each service. These map to Kubernetes readiness and liveness probes, ensuring traffic is only routed to healthy containers.
Use environment variables for secrets
Use environment variables for secrets
Pass sensitive data as environment variables using the tuning document. Define secrets in AWS Secrets Manager or SSM Parameter Store and reference them as environment variables in your compose file. See the Managing secrets section for complete details and examples.
Use named volumes for persistence
Use named volumes for persistence
Always use named volumes (not bind mounts) for persistent data. Named volumes map to PersistentVolumeClaims and work across all cloud providers.
Test locally with Docker Compose
Test locally with Docker Compose
Test your compose file locally with
docker-compose up before publishing. Verify that services can communicate, health checks work, and volumes persist data correctly.Limitations and considerations
Kubernetes required
Kubernetes required
Docker Compose origin stacks deploy using Kubernetes. All form factors support Kubernetes, so this works everywhere, but the generated infrastructure will always use Kubernetes resources (Deployments, Services, PVCs).
TCP ports only
TCP ports only
Currently, only TCP ports are supported for exposed ports. UDP, SCTP, and other protocols are not yet supported. If your application requires non-TCP protocols, use Terraform with custom Kubernetes manifests.
Docker Compose secrets are not well supported
Docker Compose secrets are not well supported
Do not use Docker Compose This approach provides centralized secret management and works consistently across all deployment targets. See Managing secrets for complete documentation.
secrets: in your compose file. Instead, use the tuning document to define secrets from AWS Secrets Manager or SSM Parameter Store:No build support
No build support
The
build: directive is not supported. All services must reference pre-built container images in registries. If you need to build images, do so before publishing your compose file and reference the built images.Limited volume options
Limited volume options
Only named volumes are supported. Bind mounts, tmpfs volumes, and volume driver options are not supported. Use PersistentVolumeClaims for all persistent storage needs.
Compose v2 and v3 only
Compose v2 and v3 only
Tensor9 supports Docker Compose file format v2.x and v3.x. Older v1 format and experimental features are not supported.
Troubleshooting
Service fails to start
Service fails to start
Symptom: Kubernetes pods show CrashLoopBackOff or are continuously restarting.Cause: Container image not found, incorrect environment variables, missing secrets, or application crashes on startup.Solution:
- Verify all container images exist in registries
- Check that environment variables and secrets are correctly configured
- View pod logs:
kubectl logs <pod-name> - Describe the pod:
kubectl describe pod <pod-name> - Test containers locally:
docker-compose up
Services cannot communicate
Services cannot communicate
Symptom: One service cannot reach another service (connection refused, DNS resolution fails).Cause: Incorrect service names, missing expose directives, or network policies blocking traffic.Solution:
- Verify service names match those in docker-compose.yml (DNS-safe: lowercase, no underscores)
- Check that services have
expose:orports:directives - Verify services are in the same namespace:
kubectl get services -n <namespace> - Test connectivity from within a pod:
kubectl exec <pod-name> -- curl http://<service-name>:<port>
PersistentVolumeClaim pending
PersistentVolumeClaim pending
Symptom: PVC status shows Pending and pods can’t start.Cause: No storage class available, insufficient storage quota, or cloud provider permissions issues.Solution:
- Check PVC status:
kubectl get pvc - Describe the PVC:
kubectl describe pvc <pvc-name> - Verify storage class exists:
kubectl get storageclass - Check cloud provider quota and permissions for creating volumes
- Review events:
kubectl get events --sort-by='.lastTimestamp'
Secrets not found
Secrets not found
Symptom: Pods fail with “secret not found” errors.Cause: Kubernetes Secrets referenced in compose file don’t exist in the namespace.Solution:
- List secrets in namespace:
kubectl get secrets -n <namespace> - Create missing secrets:
kubectl create secret generic <secret-name> --from-literal=key=value - Verify secret names match those in docker-compose.yml
- Check that secrets are marked as
external: truein compose file
Load balancer not accessible
Load balancer not accessible
Symptom: Cannot access service through external load balancer.Cause: Load balancer not provisioned, security groups blocking traffic, or service not ready.Solution:
- Check service status:
kubectl get service <service-name> - Verify load balancer is provisioned (may take a few minutes)
- Check that external-facing port in
ports:matches your application’s listening port - Verify cloud provider security groups/firewall rules allow inbound traffic
- Check pod readiness:
kubectl get pods- all replicas should be Running and Ready
Related topics
- Terraform: For custom Kubernetes configurations or advanced features
- Kubernetes: For embedding Kubernetes resources in Terraform
- Docker: For single-container deployments
- Deployments: How to create releases and deploy
- Form Factors: Understand different cloud environments