
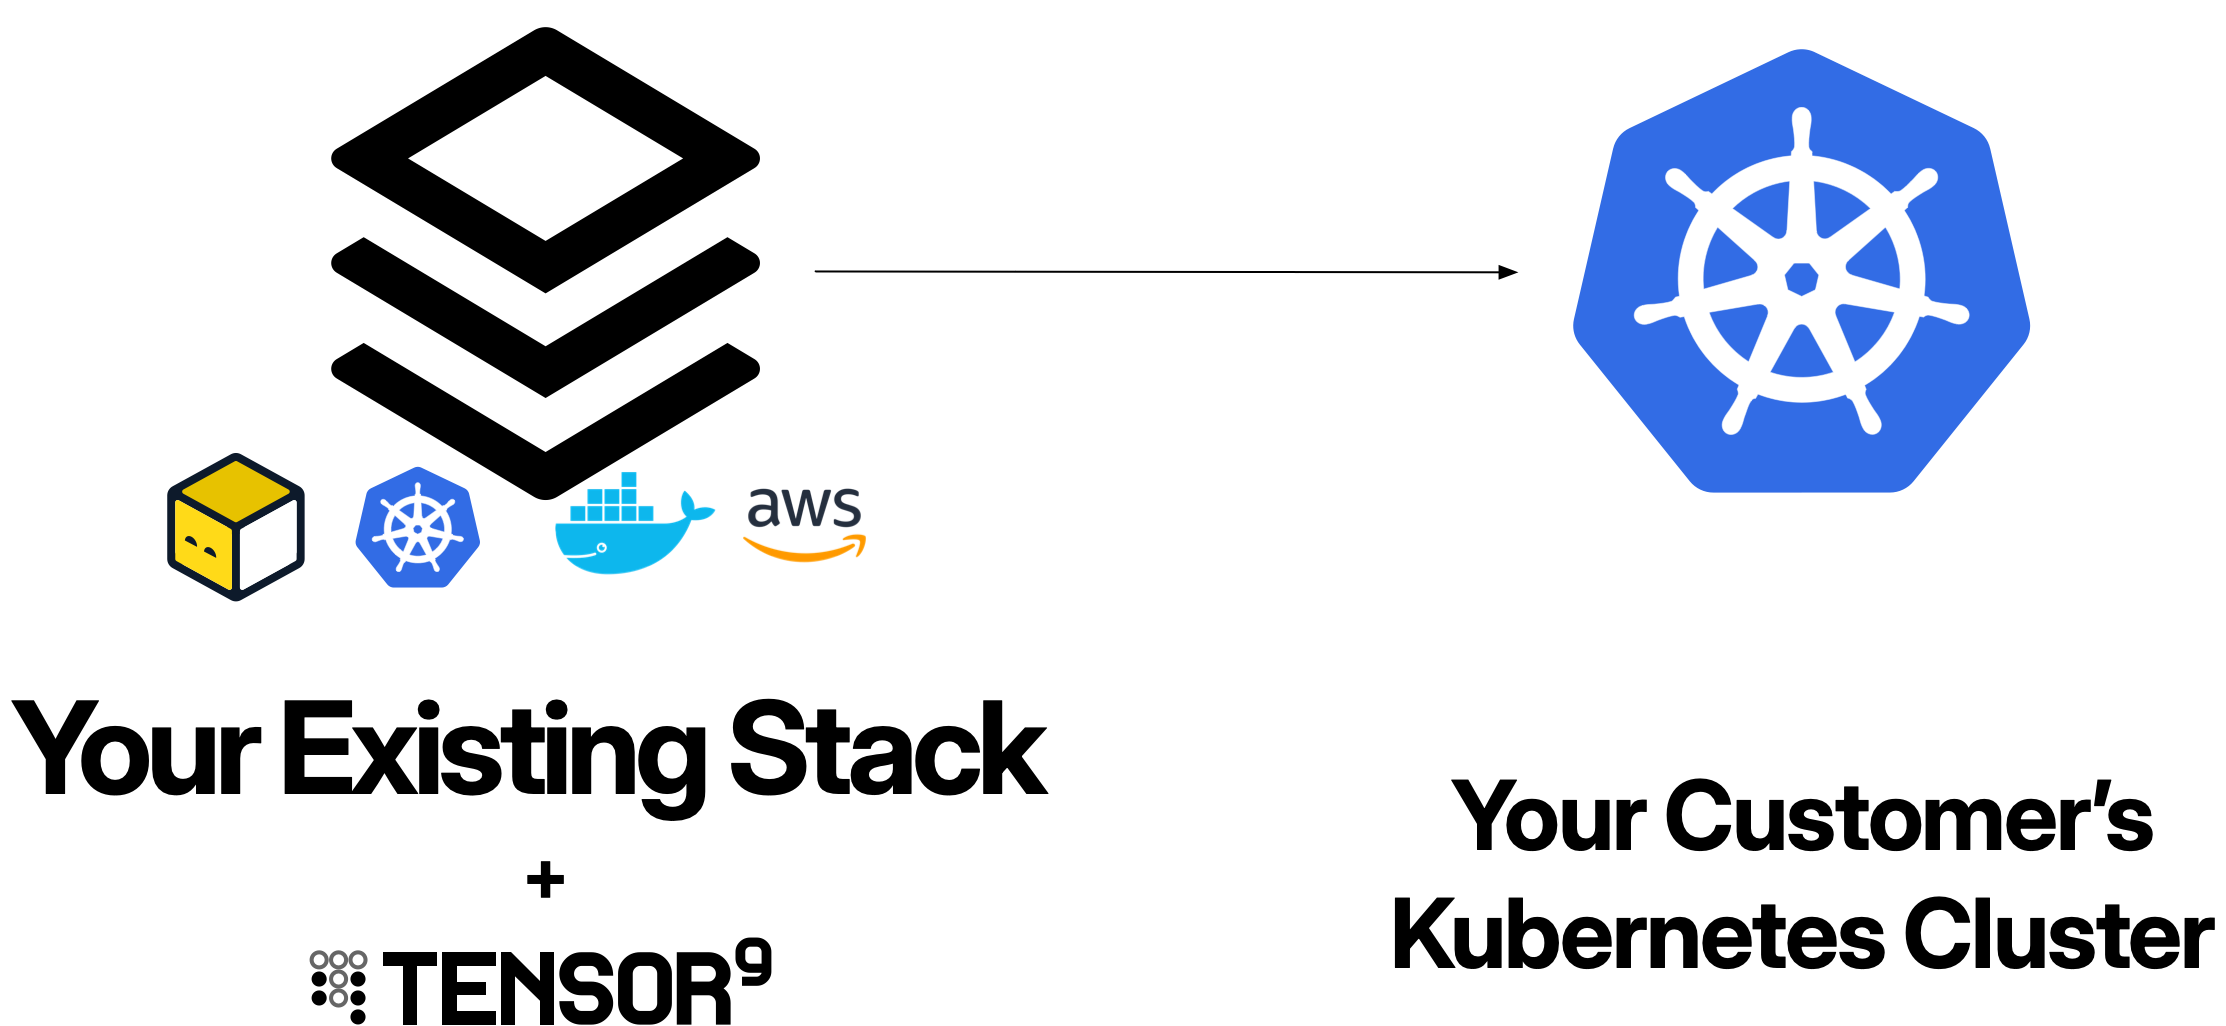

Overview
When you deploy an application to Private Kubernetes environments using Tensor9:- Customer appliances run entirely within the customer’s Kubernetes cluster
- Your control plane orchestrates deployments from your dedicated Tensor9 AWS account
- Kubernetes RBAC enables your control plane to manage customer appliances with customer-approved permissions
- Kubernetes-native resources define your application infrastructure
Prerequisites
Before deploying appliances to Private Kubernetes environments, ensure:Your control plane
- Dedicated AWS account for your Tensor9 control plane
- Control plane installed - See Installing Tensor9
- Origin stack published - Your application infrastructure defined and uploaded
Customer Kubernetes cluster
Your customers must provide:- Kubernetes cluster (version 1.24+) where the appliance will be deployed
- Cluster access credentials (kubeconfig) for the four-phase permissions model
- ServiceAccounts configured for the four-phase permissions model (Install, Steady-state, Deploy, Operate)
- Sufficient cluster resources (CPU, memory, storage) for your application’s needs
- Two namespaces:
- One for the Tensor9 controller (e.g.,
tensor9-system) - One for your application (e.g.,
acme-corp-prod)
- One for the Tensor9 controller (e.g.,
- Ingress controller (optional, for external traffic)
Your development environment
- kubectl installed and configured
- Helm installed (required for customer controller installation)
- Terraform or OpenTofu (if using Terraform origin stacks with Kubernetes provider)
How Private Kubernetes appliances work
Private Kubernetes appliances are deployed using Kubernetes-native resources orchestrated by your Tensor9 control plane.1
Customer creates namespaces and installs Tensor9 controller
You provide your customer with a signup link (hosted on your vanity domain, e.g.,
https://tensor9.vendor.co) that walks them through the setup process. The signup flow provides them with:- Customized namespace names for their appliance
- A Helm chart download link (hosted from your vanity domain)
- RBAC configuration templates for their specific deployment
-
Creating two namespaces in their Kubernetes cluster:
-
Downloading and installing the Tensor9 controller via the Helm chart provided in the signup flow:
- Creating four ServiceAccounts with RBAC permissions using the templates from the signup flow. Each ServiceAccount corresponds to a permission phase: Install, Steady-state, Deploy, and Operate. These ServiceAccounts define what the Tensor9 controller can do within their cluster.
2
You create a release for the customer appliance
You create a release targeting the customer’s appliance:Your control plane compiles your origin stack into a deployment stack tailored for Kubernetes. The deployment stack downloads to your local environment.
3
Customer grants deploy access
The customer approves the deployment by providing kubeconfig credentials for the Deploy ServiceAccount or updating RBAC to allow the Tensor9 controller to use the Deploy ServiceAccount.Once approved, the Tensor9 controller in the appliance can use the Deploy ServiceAccount to create resources in the customer’s cluster.
4
You deploy the release
You run the deployment locally against the downloaded deployment stack:The deployment stack uses the Terraform Kubernetes provider to create your application resources in the customer’s cluster:
- Deployments, StatefulSets, DaemonSets (in the application namespace)
- Services (ClusterIP, LoadBalancer)
- Ingress resources
- ConfigMaps and Secrets
- PersistentVolumeClaims
- Any other Kubernetes resources defined in your origin stack
5
Steady-state observability begins
After deployment, your control plane uses the Steady-state ServiceAccount to continuously collect observability data (logs, metrics) from the customer’s appliance without requiring additional approvals.This data flows to your observability sink, giving you visibility into appliance health and performance.
Service equivalents
When you deploy an origin stack to Private Kubernetes environments, Tensor9 automatically compiles resources from your AWS origin stack to their Kubernetes equivalents.How service equivalents work
When compiling a deployment stack for Private Kubernetes:- AWS resources are compiled - AWS resources are converted to their Kubernetes equivalents
- Container resources are adapted - Container-based resources (ECS, Lambda) are converted to Kubernetes Deployments, StatefulSets, or Jobs
- Configuration is adjusted - Resource configurations are modified to match Kubernetes conventions and best practices
Common service equivalents
| Service Category | AWS | Private Kubernetes Equivalent |
|---|---|---|
| Containers | EKS, ECS | Kubernetes |
| Functions | Lambda | Knative (unmanaged) |
| Networking | VPC | - |
| Load balancing | Load Balancer | Cloudflare (optional) |
| DNS | Route 53 | Cloudflare (optional) |
| Identity and access management | IAM | - |
| Object storage | S3 | Backblaze B2, MinIO (unmanaged) |
| Databases (PostgreSQL) | RDS Aurora PostgreSQL, RDS PostgreSQL | Neon, CloudNative PostgreSQL (unmanaged) |
| Databases (MySQL) | RDS Aurora MySQL, RDS MySQL | PlanetScale, MySQL (unmanaged) |
| Databases (MongoDB) | DocumentDB | MongoDB Atlas, MongoDB (unmanaged) |
| Caching | ElastiCache | Redis Enterprise Cloud, Redis (unmanaged) |
| Message streaming | MSK (Managed Streaming for Kafka) | Confluent Cloud, Kafka (unmanaged) |
| Search | OpenSearch Service | OpenSearch (unmanaged) |
| Workflow | MWAA (Managed Airflow) | Astronomer, Airflow (unmanaged) |
| Analytics | Amazon Athena | Presto (unmanaged) |
Third-party managed equivalents (Backblaze B2, Neon, PlanetScale, MongoDB Atlas, Redis Enterprise Cloud, Confluent Cloud, Astronomer) require your customers to bring their own credentials and accounts with these services.
Some popular AWS services (EC2, DynamoDB, EFS) are not currently supported. See Unsupported AWS services for the full list and recommended alternatives.
Service dependencies
When Tensor9 compiles your origin stack to use unmanaged service equivalents, those equivalents often require dependencies - infrastructure components like Kubernetes operators or Helm charts that must be installed in the customer’s environment. For example, when Tensor9 maps AWS RDS PostgreSQL to CloudNative PostgreSQL (CNPG) for a Kubernetes environment, the CNPG operator must be installed in the cluster before the PostgreSQL instances can be created.How dependencies work
Dependencies are cluster-wide components that may be shared across multiple services. For example, if your app has two PostgreSQL databases, both use the same CNPG operator rather than installing it twice. You specify which dependency versions are acceptable using semver constraints (e.g.,>=1.24.0), and Tensor9 installs the latest version that satisfies the constraint.
Reference counting
Tensor9 manages dependencies using reference counting to ensure they’re installed exactly once and cleaned up properly:- First reference (0→1): When the first service needs a dependency, Tensor9 installs it
- Additional references: Subsequent services increment the reference count without reinstalling
- Removing references: When services are removed, the reference count decrements
- Last reference removed (1→0): When no services need the dependency, Tensor9 uninstalls it
Install methods
Dependencies can be installed in two ways:- Managed: Tensor9 installs and manages the dependency automatically
- PreInstalled: The customer is expected to have the dependency already installed in their environment
For Private Kubernetes environments, dependencies can only use the PreInstalled method. Customers must have the required operators and Helm charts installed in their clusters before deployment.
Example: Compiling an AWS origin stack
If your origin stack defines an ECS Fargate service:Supported Kubernetes distributions
Tensor9 supports deploying to any standard Kubernetes cluster that conforms to the Kubernetes API specification (version 1.24+):| Distribution | Environment | Notes |
|---|---|---|
| Vanilla Kubernetes | On-premises, bare metal | Self-managed Kubernetes clusters |
| K3s | Edge, IoT, resource-constrained | Lightweight Kubernetes distribution |
| MicroK8s | Developer workstations, edge | Canonical’s minimal Kubernetes |
| RKE/RKE2 | On-premises, enterprise | Rancher Kubernetes distributions |
| OpenShift | On-premises, hybrid cloud | Red Hat’s Kubernetes platform |
| Tanzu Kubernetes Grid | On-premises, VMware environments | VMware’s enterprise Kubernetes |
| Self-managed EKS/GKE/AKS | Cloud (self-managed) | Customer-managed clusters in cloud providers |
Permissions model
Private Kubernetes appliances use a four-phase ServiceAccount permissions model that balances operational capability with customer control.The four permission phases
| Phase | ServiceAccount | Purpose | Access Pattern |
|---|---|---|---|
| Install | tensor9-install | Initial setup, major infrastructure changes (CRDs, namespaces) | Customer-approved, rare |
| Steady-state | tensor9-steadystate | Continuous observability collection (read-only) | Active by default |
| Deploy | tensor9-deploy | Deployments, updates, configuration changes | Customer-approved, time-bounded |
| Operate | tensor9-operate | Remote operations, troubleshooting, debugging | Customer-approved, time-bounded |
ServiceAccount and RBAC structure
Each ServiceAccount is created in the customer’s Kubernetes cluster with RBAC policies that grant appropriate permissions to both the controller namespace and the application namespace. Example: Deploy ServiceAccount with scoped permissions- Create and manage the Tensor9 controller in the controller namespace
- Create and manage application resources in the application namespace
- Perform operations allowed by the Roles
- Access resources labeled with the appliance’s
instance-id
- Can only read resources in both the controller and application namespaces
- Cannot modify, delete, or create any resources
- Cannot access secrets or configmaps (unless explicitly granted)
- Allows continuous monitoring without customer intervention
Deployment workflow with ServiceAccounts
1
Customer grants deploy access
Customer approves a deployment by providing kubeconfig credentials for the Deploy ServiceAccount or updating the RoleBinding to allow the Tensor9 controller to assume the Deploy ServiceAccount.
2
You execute deployment locally
You run the deployment locally against the downloaded deployment stack:The deployment creates all Kubernetes resources in the customer’s cluster.
3
Terraform creates resources using Deploy ServiceAccount
The Terraform Kubernetes provider uses the Deploy ServiceAccount credentials (provided via kubeconfig) to create resources in the customer’s cluster.All infrastructure changes occur within the customer’s namespaces (controller and application) using the Deploy ServiceAccount permissions.
4
Deploy access expires
After the deployment window expires or the customer revokes access, the Deploy ServiceAccount credentials can no longer be used. Your control plane automatically reverts to using only the Steady-state ServiceAccount for observability.
Networking
Private Kubernetes appliances use standard Kubernetes networking primitives for both internal and external connectivity.Tensor9 controller Deployment
When an appliance is deployed, Tensor9 creates a dedicated Deployment for the Tensor9 controller in the customer’s controller namespace (e.g.,tensor9-system). The controller:
- Communicates outbound to your Tensor9 control plane over HTTPS
- Manages appliance resources using the customer’s ServiceAccount credentials
- Forwards observability data to your observability sink
- Does not accept inbound connections - all communication is outbound-only
Application networking
Your application resources use standard Kubernetes Services and Ingress for networking: Internal communication (ClusterIP Services)Resource naming and labeling
Since each appliance runs in its own dedicated namespace, resource names don’t need to include theinstance_id for uniqueness. However, labeling resources with instance-id is still important for observability and tracking.
Resource naming
Use descriptive names for your Kubernetes resources:Required labels
Label all resources withinstance-id to enable observability and tracking:
instance-id label:
- Allows filtering of observability data by appliance
- Helps track resource usage and costs per appliance
- Facilitates resource discovery by Tensor9 controllers
- Enables correlation of resources across namespaces (controller + application)
Ingress hostnames
For Ingress resources, use a hostname that includes theinstance_id to ensure uniqueness across appliances:
Observability
Private Kubernetes appliances provide observability through standard Kubernetes logging and metrics.Container logs
Application logs from containers are collected via kubectl:Metrics
Kubernetes metrics (via Metrics Server) Basic resource metrics are available if the cluster has Metrics Server installed:Events
Kubernetes Events provide insight into cluster operations:Distributed tracing (optional)
For distributed tracing, recommend that customers install Jaeger or other OpenTelemetry-compatible collectors. Configure your application to send traces to the collector endpoint:Artifacts
Private Kubernetes appliances use container registries to store container images deployed by your deployment stacks.Container images
Customer-managed registry Customers can configure their own container registry (Harbor, Nexus, JFrog Artifactory, etc.):- Detects the container image reference in your Kubernetes manifests
- Provisions image pull configuration for the customer’s registry
- Copies the container image from your vendor registry to the customer’s registry
- Rewrites the deployment stack to reference the customer-local registry
Artifact lifecycle
Container artifacts are tied to the deployment lifecycle:- Deploy (tofu apply): Images are pulled from the configured registry
- Destroy (tofu destroy): Deleting the deployment stops using the images (cleanup depends on registry retention policies)
Secrets management
Store secrets in AWS Secrets Manager or AWS Systems Manager Parameter Store in your AWS origin stack. Tensor9 will copy the secret values and inject them as Kubernetes Secrets that get mounted as environment variables.Secret injection pattern
Define secrets in your origin stack:If your application dynamically fetches secrets using AWS SDK calls (e.g.,
boto3.client('secretsmanager').get_secret_value()), those calls will NOT work in Kubernetes environments. Always pass secrets as environment variables via Kubernetes Secrets.Operations
Perform remote operations on Private Kubernetes appliances using the Operate ServiceAccount.kubectl operations
Execute kubectl commands against the customer’s cluster:Database operations
For databases running in Kubernetes, execute SQL queries:Pod exec operations
Execute commands inside running pods:Port forwarding
Create temporary port forwards for debugging:Example: Complete Private Kubernetes appliance
Here’s a complete example of an AWS origin stack using EKS and the Kubernetes provider. This will compile to a deployment stack for the customer’s Private Kubernetes cluster:main.tf
variables.tf
outputs.tf
Best practices
Use resource requests and limits
Use resource requests and limits
Always specify resource requests and limits for containers:This ensures:
- Proper pod scheduling
- Protection against resource exhaustion
- Predictable performance
Configure health probes
Configure health probes
Always configure liveness and readiness probes:This enables Kubernetes to:
- Restart unhealthy pods
- Route traffic only to ready pods
- Ensure high availability
Inject secrets as environment variables
Inject secrets as environment variables
Use Kubernetes Secrets and inject them as environment variables:Never hardcode secrets in container images or ConfigMaps.
Troubleshooting
Deployment fails with RBAC permission errors
Deployment fails with RBAC permission errors
Symptom: Deployment fails with “forbidden” or “unauthorized” errors during
tofu apply.Solutions:- Verify the ServiceAccount has the necessary RBAC permissions
- Check that RoleBindings or ClusterRoleBindings are correctly configured
- Ensure the kubeconfig is using the correct ServiceAccount
- Verify the ServiceAccount has access to both the controller and application namespaces
- Check for typos in resource names or apiGroups in RBAC rules
Observability data not flowing to control plane
Observability data not flowing to control plane
Symptom: Logs and metrics aren’t appearing in observability sink.Solutions:
- Verify Steady-state ServiceAccount has read permissions for both namespaces
- Check Tensor9 controller is running:
kubectl get pods -n tensor9-system -l app=tensor9-controller - Ensure controller can reach control plane (check network connectivity)
- Verify all resources are labeled with
instance-id - Check controller logs for errors:
kubectl logs -n tensor9-system -l app=tensor9-controller
Need help?
Need help?
If you’re experiencing issues not covered here or need additional assistance with Private Kubernetes deployments, we’re here to help:
- Slack: Join our community Slack workspace for real-time support
- Email: Contact us at [email protected]
Next steps
Now that you understand deploying to Private Kubernetes environments, explore these related topics:- Permissions Model: Deep dive into the four-phase permissions model
- Deployments: Learn how to create releases and deploy to customer appliances
- Operations: Execute remote operations on Kubernetes appliances
- Observability: Set up comprehensive monitoring and logging
- Kubernetes Origin Stacks: Write Kubernetes manifests optimized for Tensor9